Elias Graves
Common misfit
It's time to begin my second guitar build. My experience with the tele taught me that it's no harder than making anything else, so this attempt will be a bit more ambitious.
I kept enough walnut to make a few more projects so ill be using some of it here, along with some maple and rosewood. The design for this one will incorporate some of the techniques I used on the tele but the design is going a whole different direction.
Some of you may remember when I owned an Epiphone Alleykat. That guitar and I had a love/hate relationship; I loved the size, shape, layout, construction style and so on but I never could get that thing to sound right on a bridge pickup and it eventually started to warp and I finally rid myself of it. Some of the build techniques of the Kat I will use, primarily the carved hollow back.
This is a Kat in production.
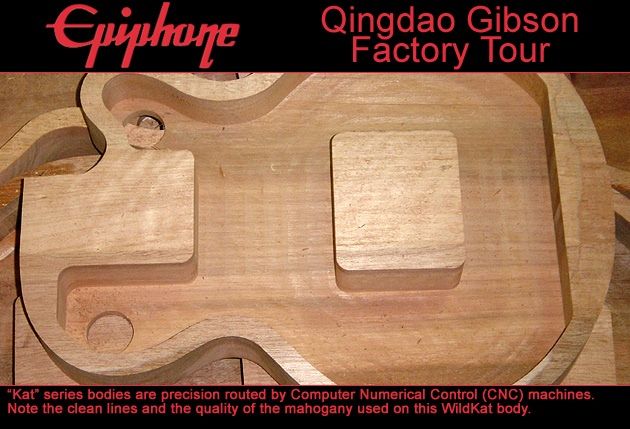
And will be a guide of sorts for me as I go. Mine will have no center block, however, and the top is to be a little thicker as will the sides. The Kat was right at 1 3/4" thick at the side where I'm gonna go about 2" but with more contouring on the back for comfort.
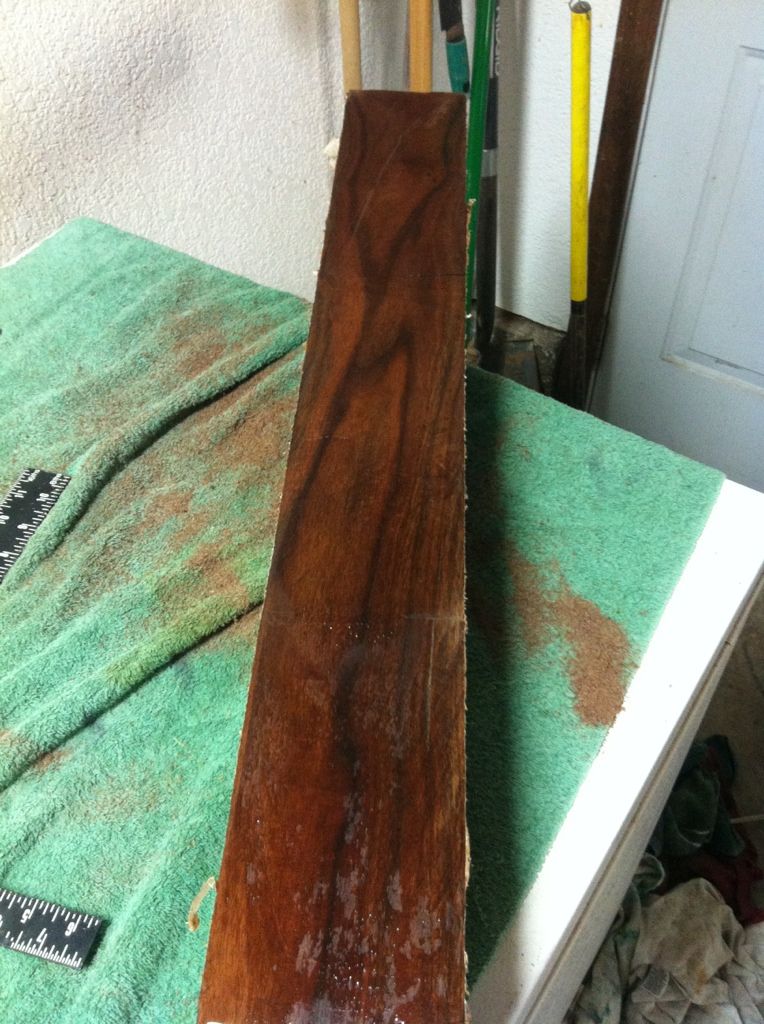
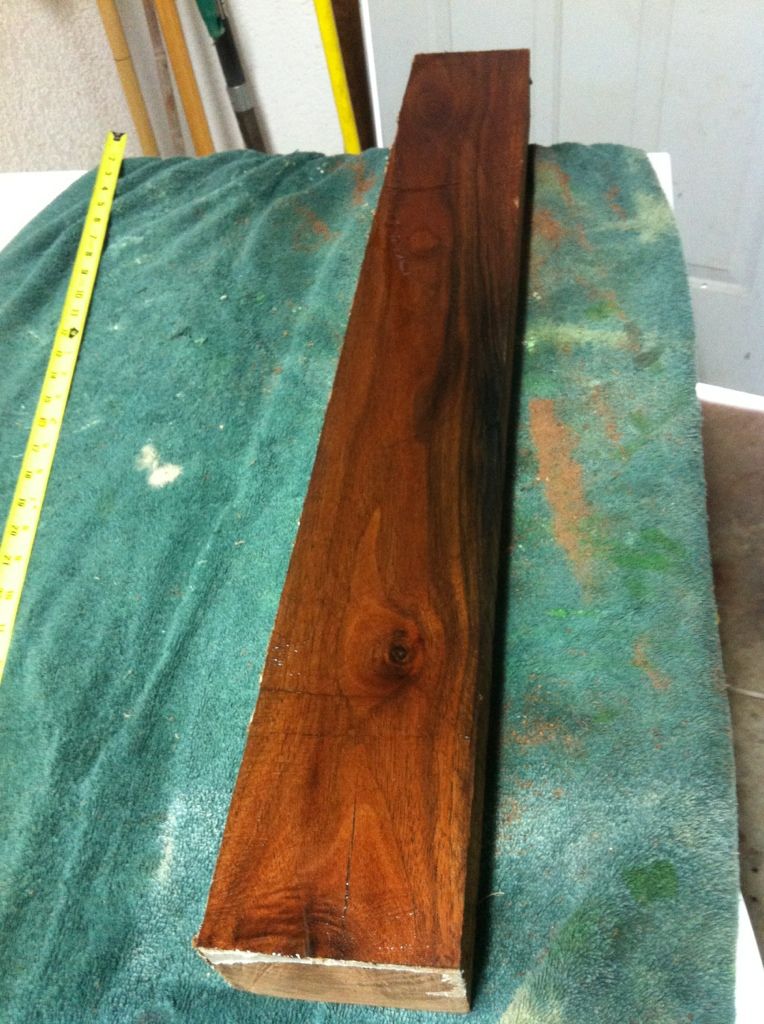
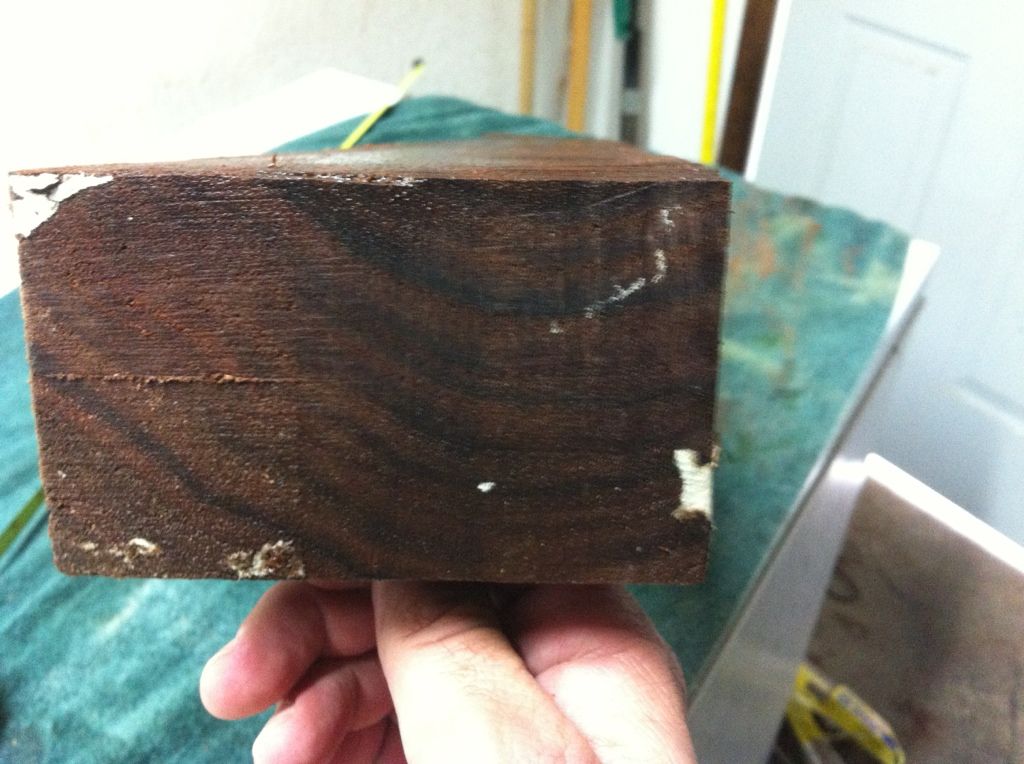
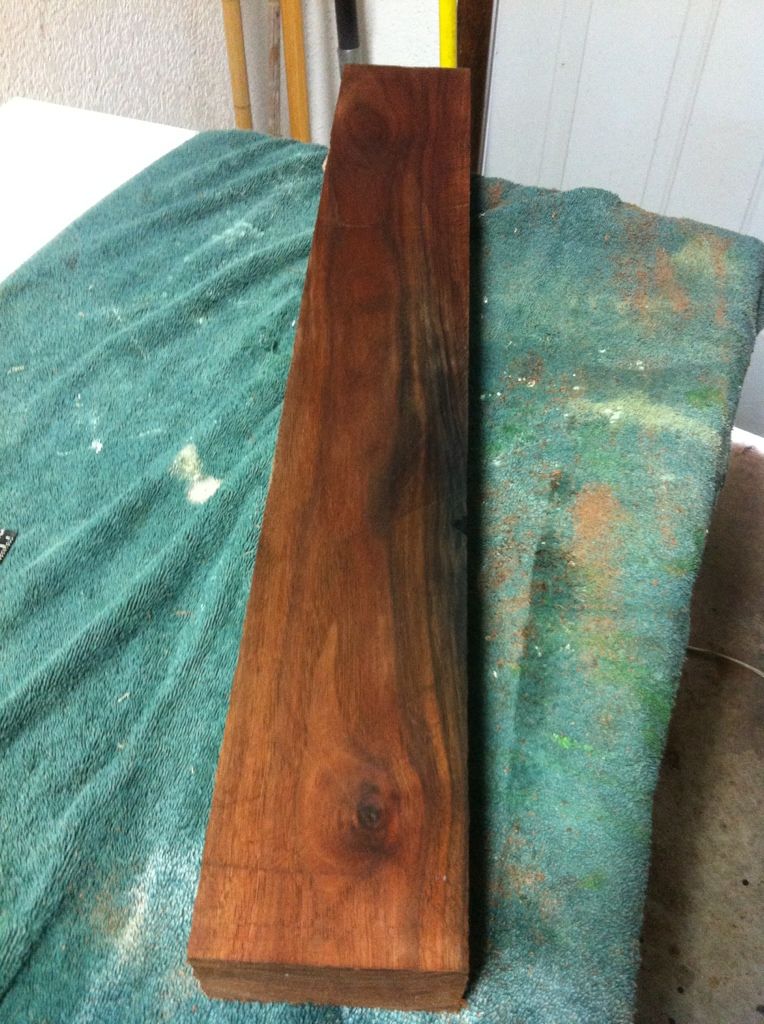
I'm going to begin with some work on the neck. This is the chunk I saved for that purpose.
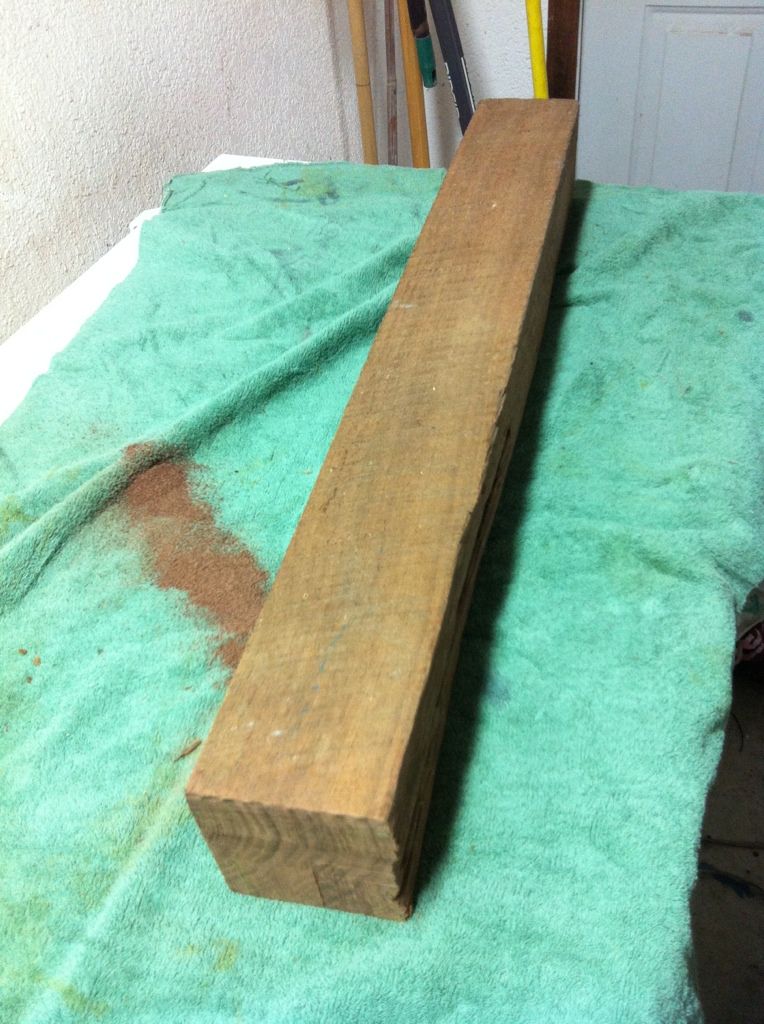
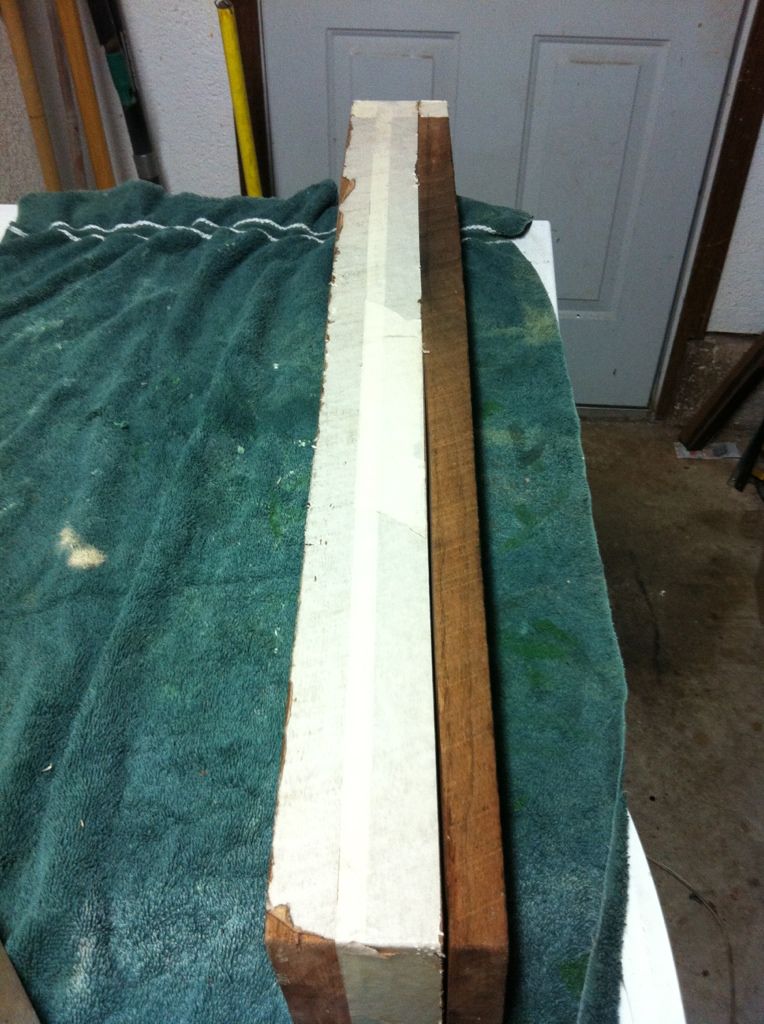
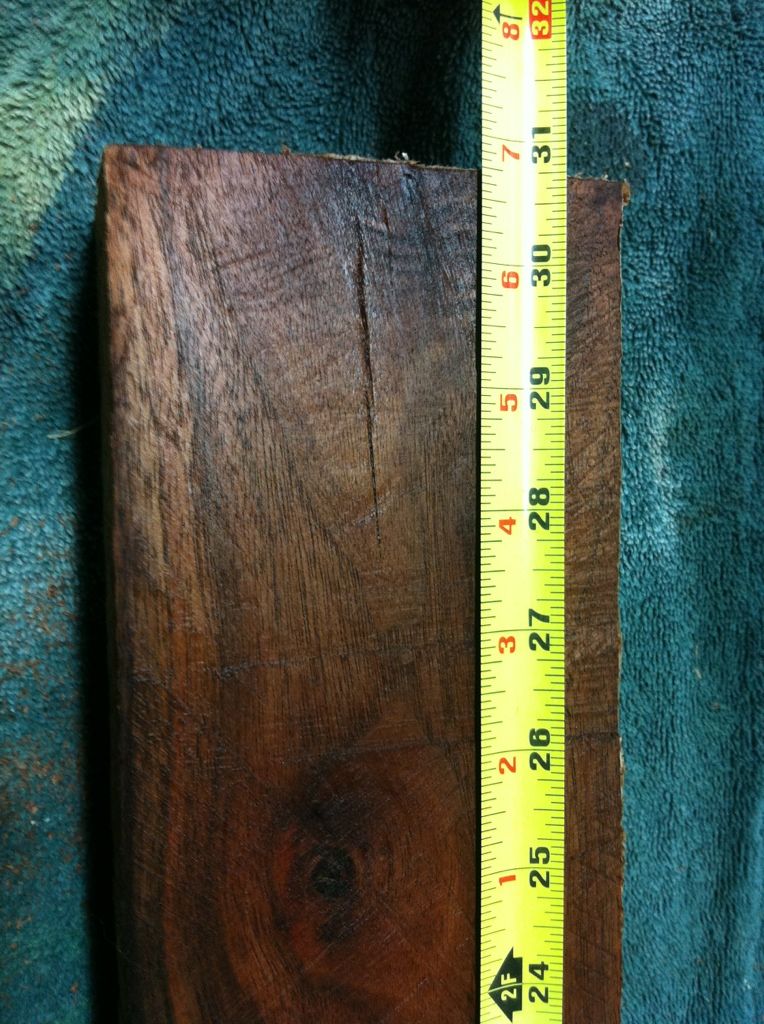
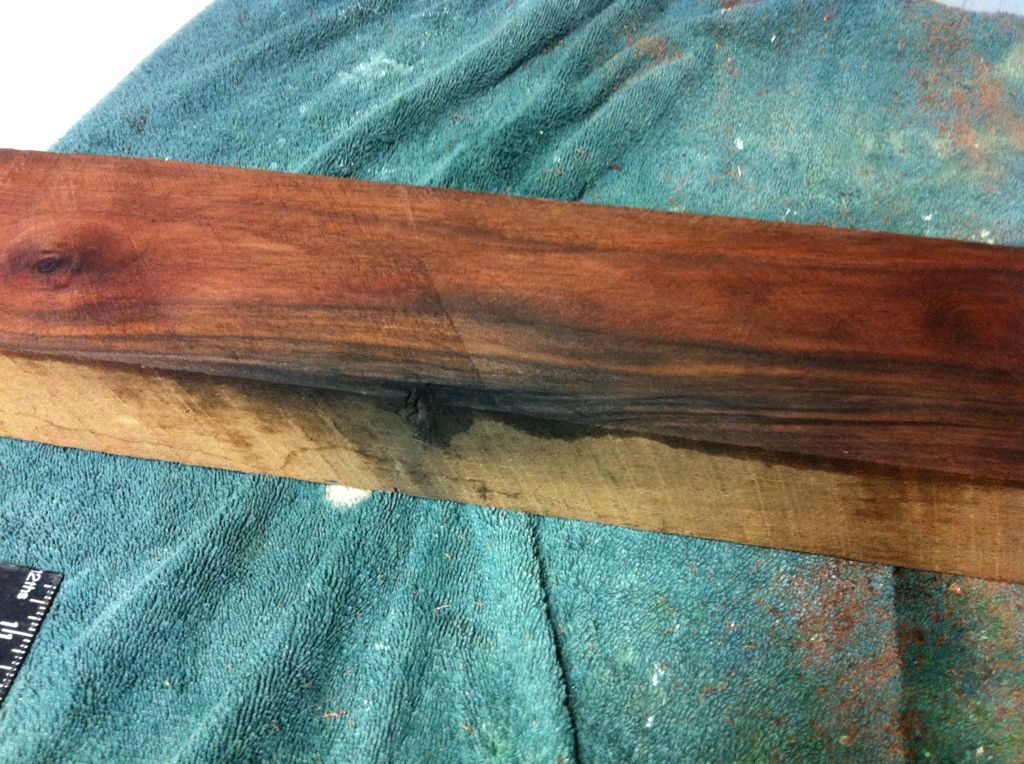
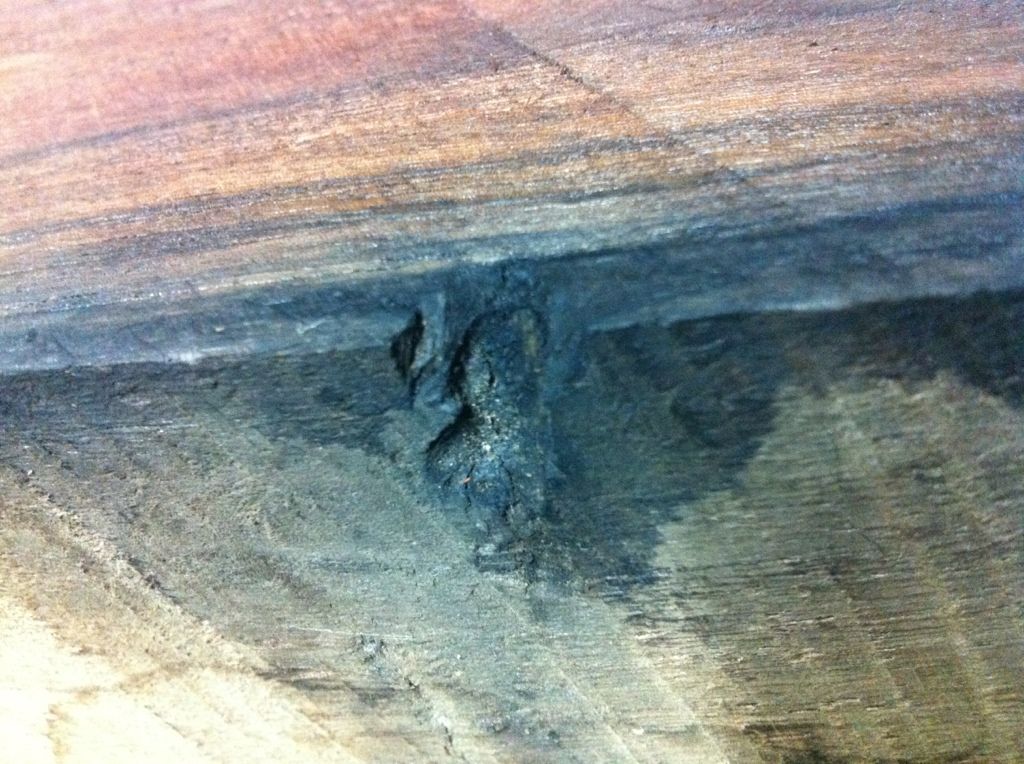
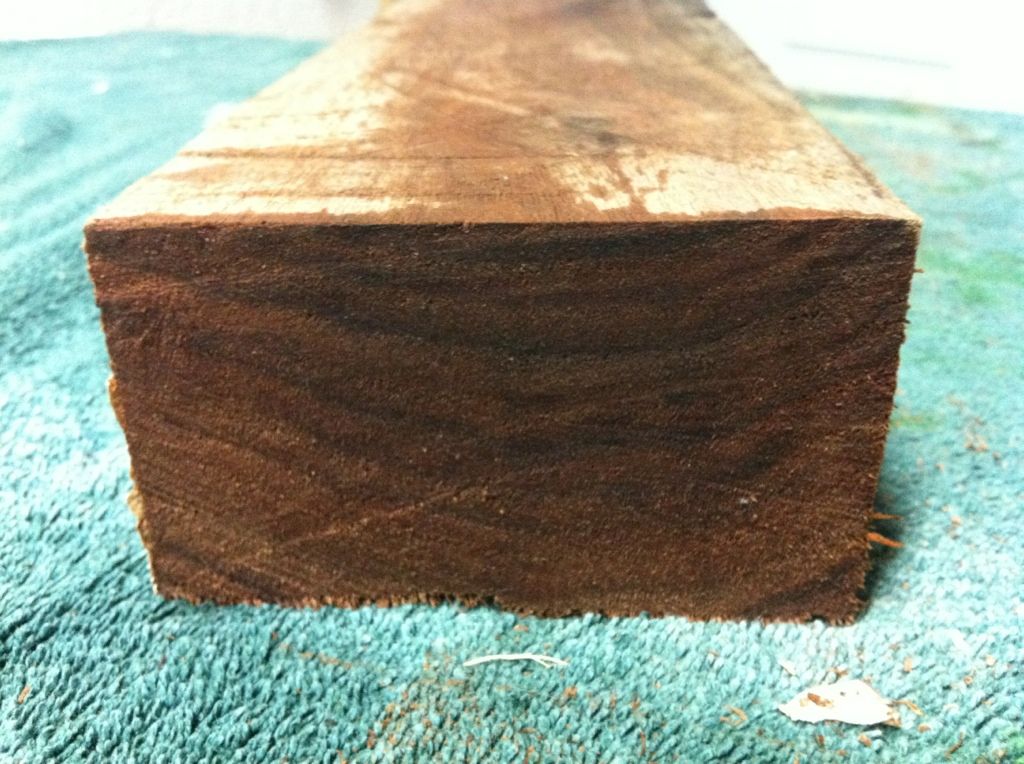
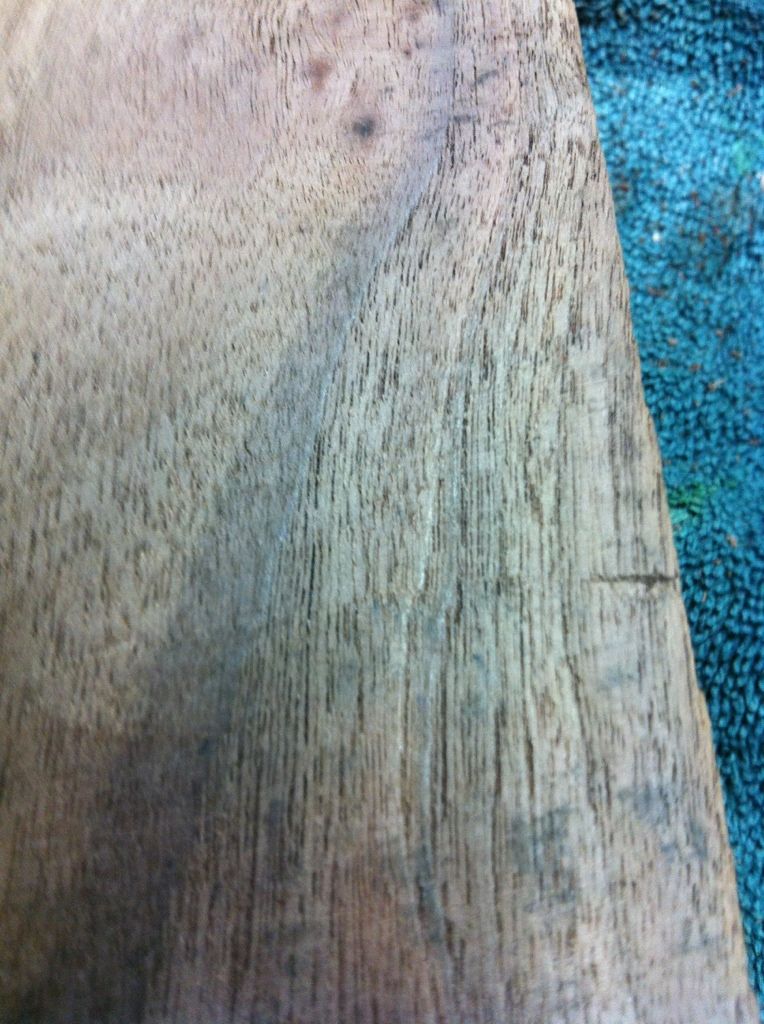
There's plenty enough wood there for a set neck. The only downside this piece has is that it's neither truly quarter OR flat sawn. It was cut from the center of a branch or trunk and the growth rings are small and they curl around. This COULD increase the chances for warping (from like one in a million to one in a thousand...still pretty good odds.) I can probably be careful how I cut it and minimize the curl. The board is 25 years old and has likely warped all its gonna warp already...and it has some.
I kept enough walnut to make a few more projects so ill be using some of it here, along with some maple and rosewood. The design for this one will incorporate some of the techniques I used on the tele but the design is going a whole different direction.
Some of you may remember when I owned an Epiphone Alleykat. That guitar and I had a love/hate relationship; I loved the size, shape, layout, construction style and so on but I never could get that thing to sound right on a bridge pickup and it eventually started to warp and I finally rid myself of it. Some of the build techniques of the Kat I will use, primarily the carved hollow back.
This is a Kat in production.

And will be a guide of sorts for me as I go. Mine will have no center block, however, and the top is to be a little thicker as will the sides. The Kat was right at 1 3/4" thick at the side where I'm gonna go about 2" but with more contouring on the back for comfort.
I'm going to begin with some work on the neck. This is the chunk I saved for that purpose.

There's plenty enough wood there for a set neck. The only downside this piece has is that it's neither truly quarter OR flat sawn. It was cut from the center of a branch or trunk and the growth rings are small and they curl around. This COULD increase the chances for warping (from like one in a million to one in a thousand...still pretty good odds.) I can probably be careful how I cut it and minimize the curl. The board is 25 years old and has likely warped all its gonna warp already...and it has some.
Last edited:

